Loading the support system

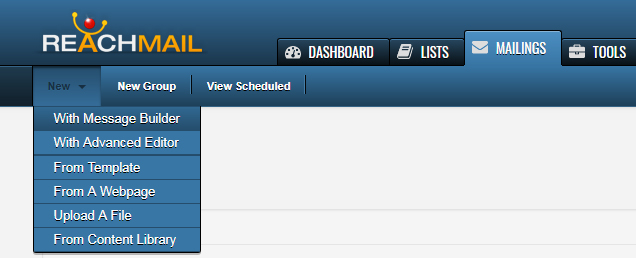
Already have an HTML file to use? Or do you wish to edit/create HTML on your own? Then our Advanced Editor is for you. To access the Advanced Editor, navigate to your Mailings tab, select the New option, and choose With Advanced Editor.
When you select any of the options from the New sub-navigation. You will be presented with the initial Details tab.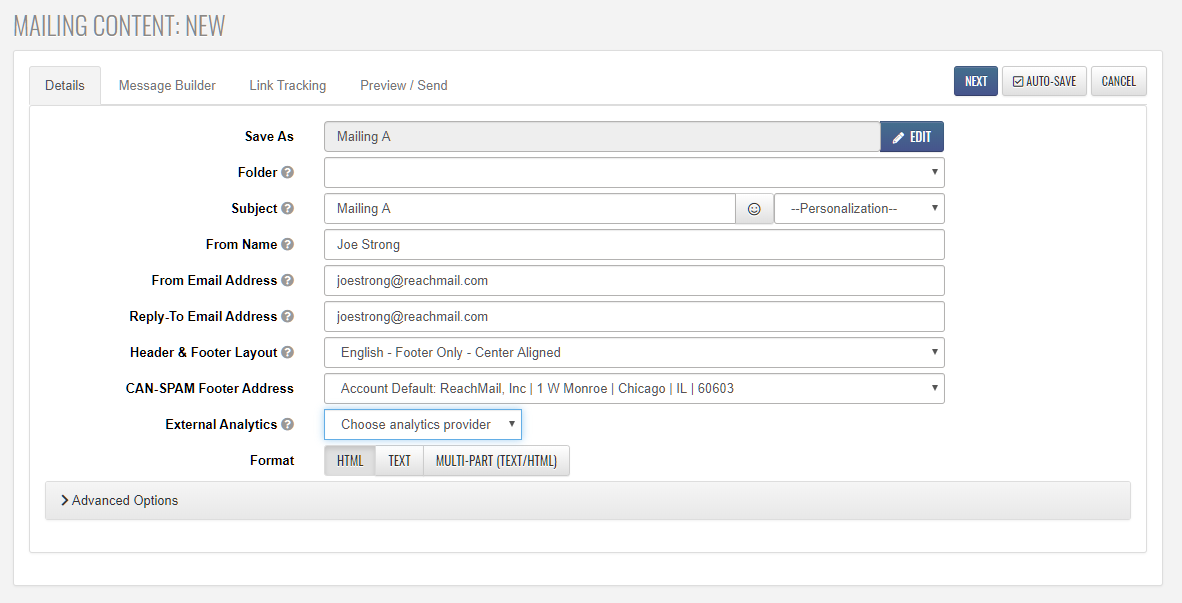
All options in this section are required.
Additionally, paid accounts will have the option to select the alignment of their footer & header on a specific mailing. This will be available within the Advanced Options. The image below demonstrates where you can change to those footer options.

After clicking Next, you'll be presented with a blank mail editor. This editor is similar to most visual content editors such as Microsoft Word.
The image below highlights a few of the commonly used buttons in the editor toolbar, including the image manager, link manager, and special ReachMail functions.

Remember to use the Save button near the bottom right of the editor screen frequently.
When editing is finished, click the Next button to preview and test your design.