Loading the support system

To create a new mailing, begin by navigating to the Mailings tab. From here select the New option. There are multiple different ways to create a mailing in our service: With Message Builder, With Advanced Editor, With Markup Editor, From Template, From A Webpage, From An Email, Upload A File, or From Content Library.
If you're not comfortable with HTML and CSS, we recommend you start with the With Message Builder option. You can to start from a blank document or choose from a series of Templates.
For people who are more fluent in HTML the options With Advanced Editor or With Markup Editor may be more suitable. The New > From Template allows you to select from legacy templates that were originally built for the Advanced Editor.
The other options, From A Webpage, From An Email, Upload A File, and From Content Library are best used for importing existing HTML into the system.
When you select any of the options from the New sub-navigation. You will be presented with the initial Details tab.
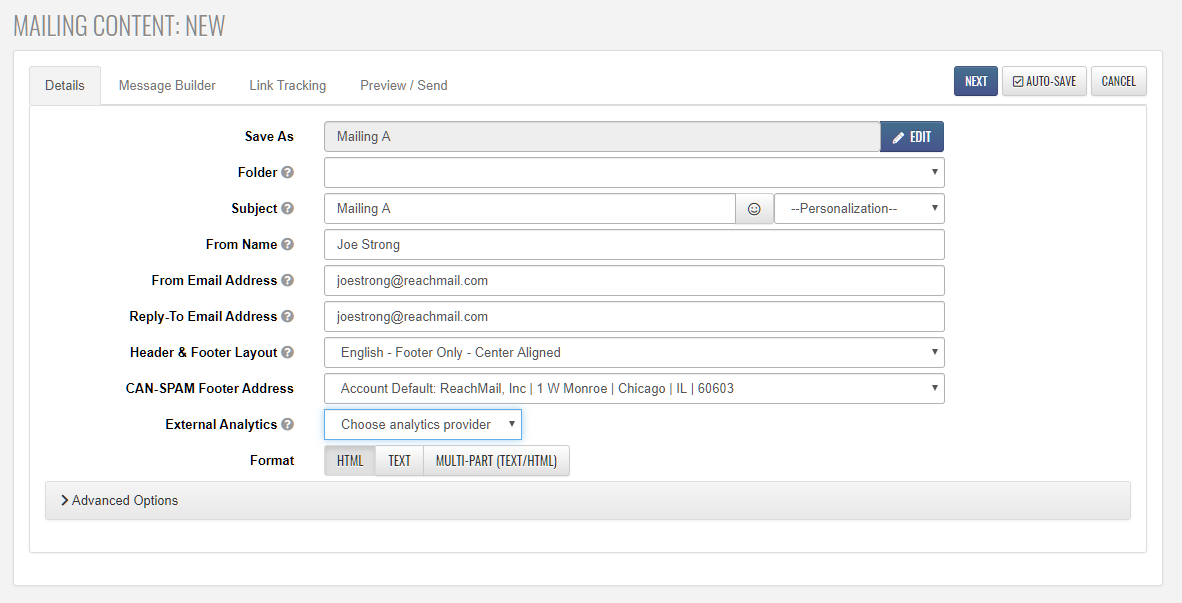
All options in this section are required.
Additionally, paid accounts will have the option to select the alignment of their footer & header on a specific mailing. This will be available within the Advanced Options.
