Loading the support system

These instructions will walk you through how to add Easy-SMTP to your Outlook 2013 application. First, go to: ‘File’ and then ‘Account and Social Network Settings’ and click on ‘Account Settings’.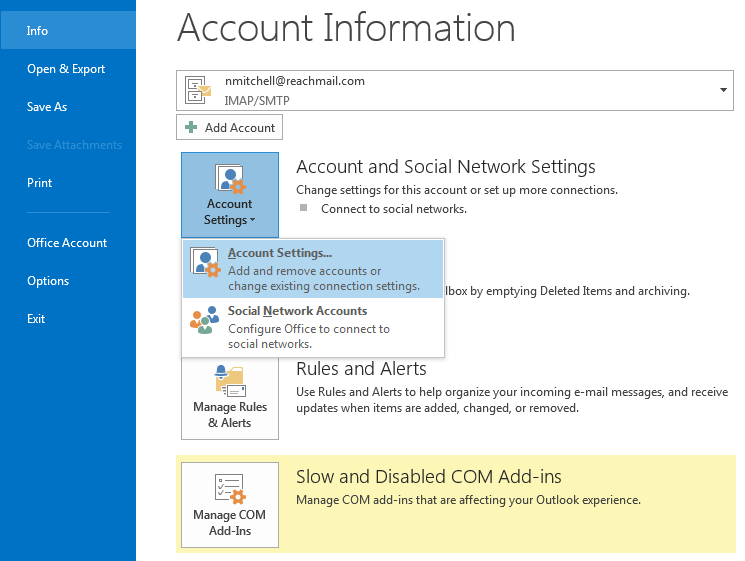
The ‘Account Settings’ window should appear as below; please select the account you receive e-mail through and click the ‘Change’ button.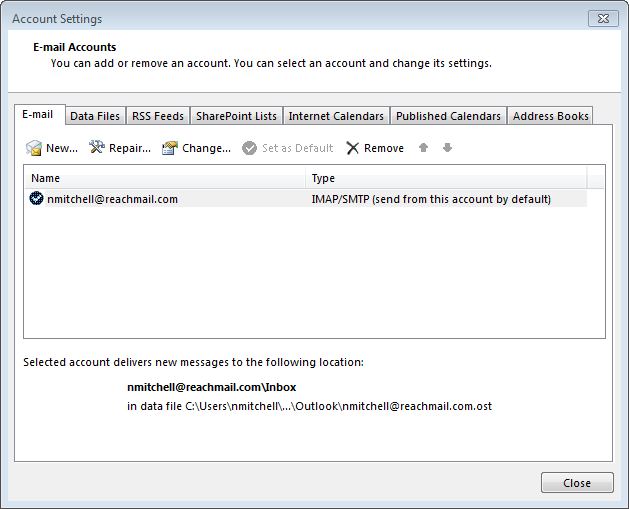
The following ‘Change E-mail Account’ window will appear. For the Outgoing Mail Server type in ssrs.reachmail.net. Under Login Information, please enter your Easy-SMTP username and password.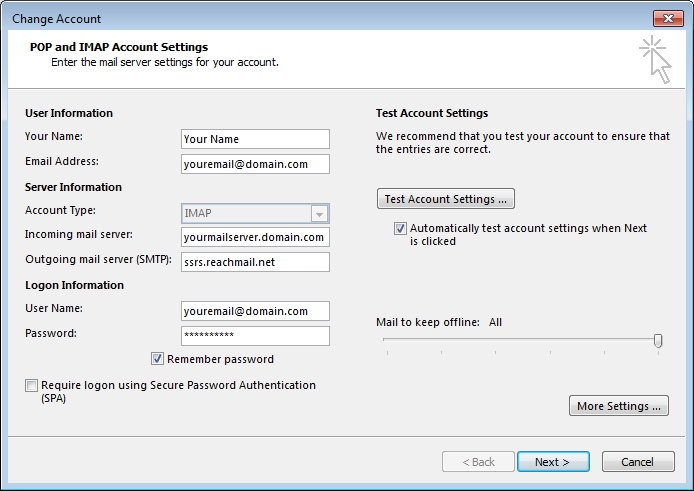
Next, click on the More Settings button. Under the “Outgoing Server Tab”, check mark “My outgoing server (SMTP) requires authentication. Click “Log on using” and enter your Easy-SMTP Username and Password.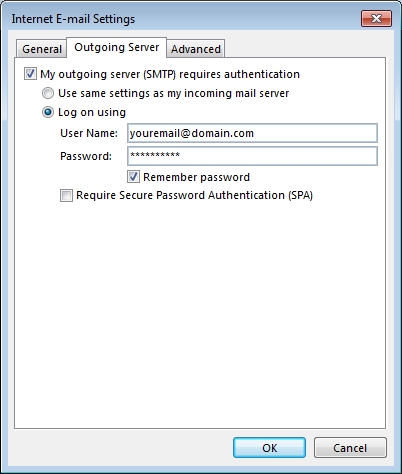
Once this information has been entered you will want to click on the Advanced tab. Navigate to the Outgoing server (SMTP) option and enter the port you will want to connect on along with the following type of encrypted connection. Keep in mind if you’re connecting on port 25, 2525, or 587 you will be using TLS and if you’re connecting on port 465 you will be using SSL. After this has been completed click on the Ok button. 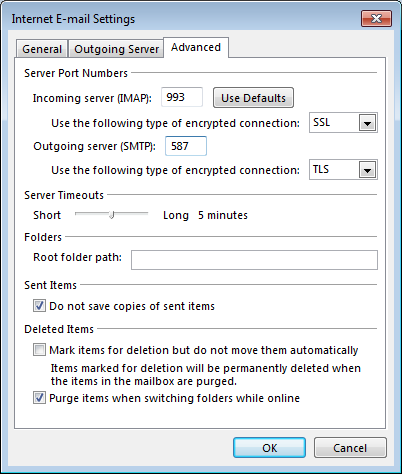
Once you are back on the Change Account screen, click the Next button to test that everything is setup correctly. If everything checks out correct then you should see this.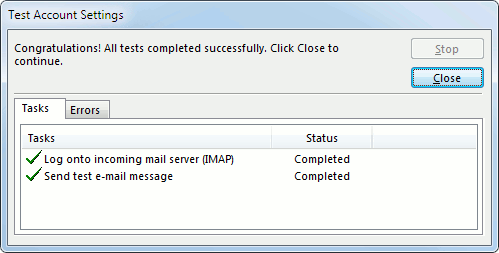
You should be all set at this point. If you need more assistance, please contact support.