Loading the support system

Zapier allows you to connect your ReachMail account to over 3,000+ applications. This will enable you to integrate ReachMail's award-winning service with almost any integration you can think of. To begin you'll need to create or sign in to a Zapier account.
For ease of use, we recommend using our prebuilt Zapier templates. To access these, go to the ReachMail Zapier page and scroll down to the Templates section. For this example, we will be selecting Create ReachMail Recipients From New Rows in a Google Sheet and using the Try It button.
If you're signed in to your Zapier account, as previously instructed, this will bring you instantly to creating a Zap with the triggers and actions already preselected.
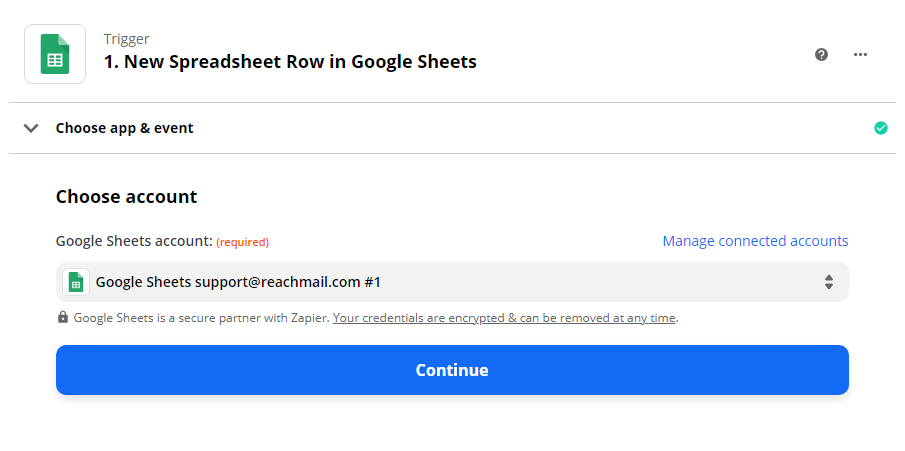
The first step will be to connect your Google Sheets account. Full help documentation for how to link your Google Sheets account can be found in Zapier's Help post on this topic. When you've successfully connected your Google Sheets account you should be able to click on the Continue button to proceed.
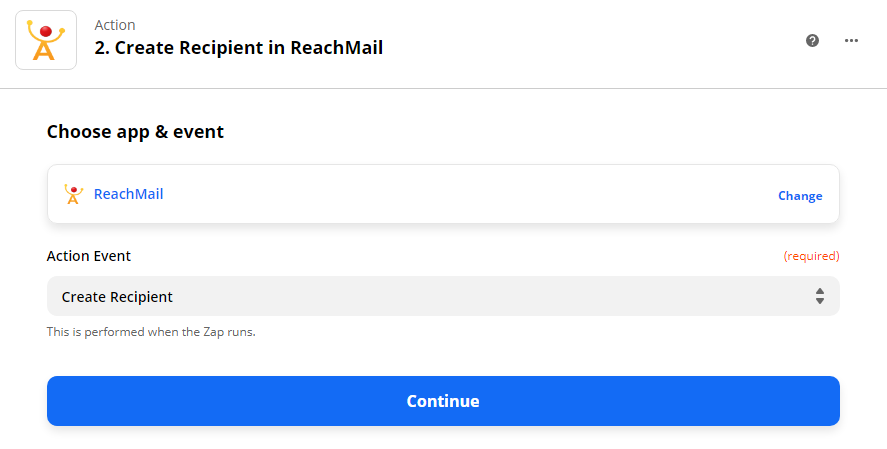
The next step will be to add the Action you want ReachMail to take when a row in Google Sheets is added. This will require you to connect your ReachMail account to Zapier. For this example, we're going to use the Action Event to Create Recipient when a new row is added in Google Sheets.
After this action has been completed you'll be able to view a summary of your Zap. The options you'll have are to Test & Review or Test & Continue. If the test is successful the Zap will be able to be added to your account.